• FREE ASSEMBLY on ALL TGB™ Sheds, Playhouses & Summerhouses • HUGE SPRING OFFERS on hundreds of buildings, inc. ALL Power® Sheds® Power® Summerhouses, Power® Log Cabins! •

POWER® FAST DELIVERY: Currently 6-8 Days*
FREE FAST DELIVERY service is available for ALL modular Power® sheds, summerhouses and accessories.
Currently it's just *6-8 working days for fast, free delivery to most parts of mainland Britain AND Northern Ireland, however some remote areas may take a bit longer. Please contact us for a quote if you need a next-day, or Saturday delivery.
You can find more practical information about the Power® Fast Delivery here.
Description
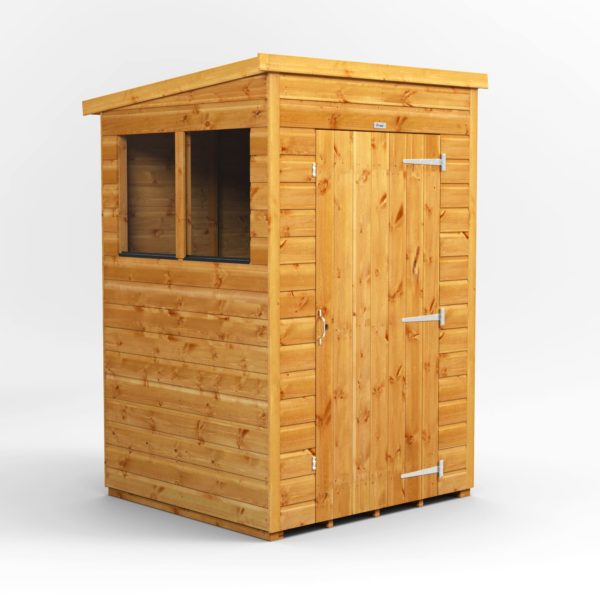
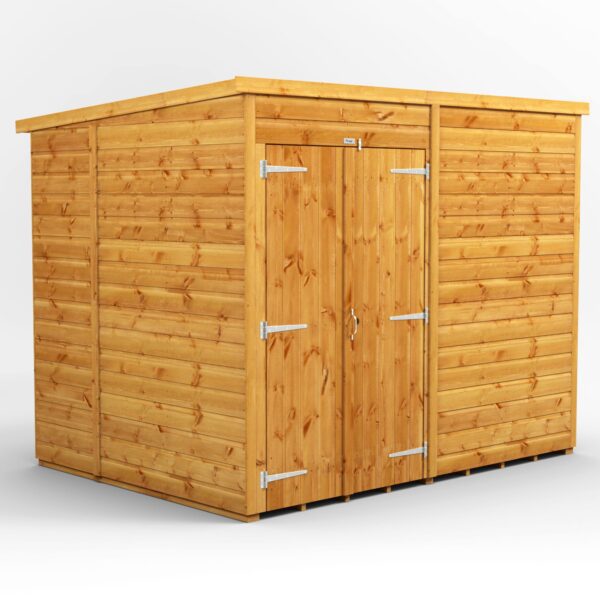
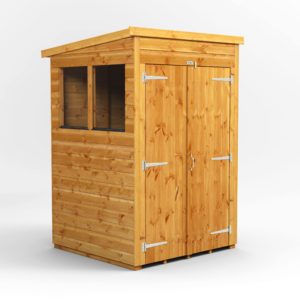
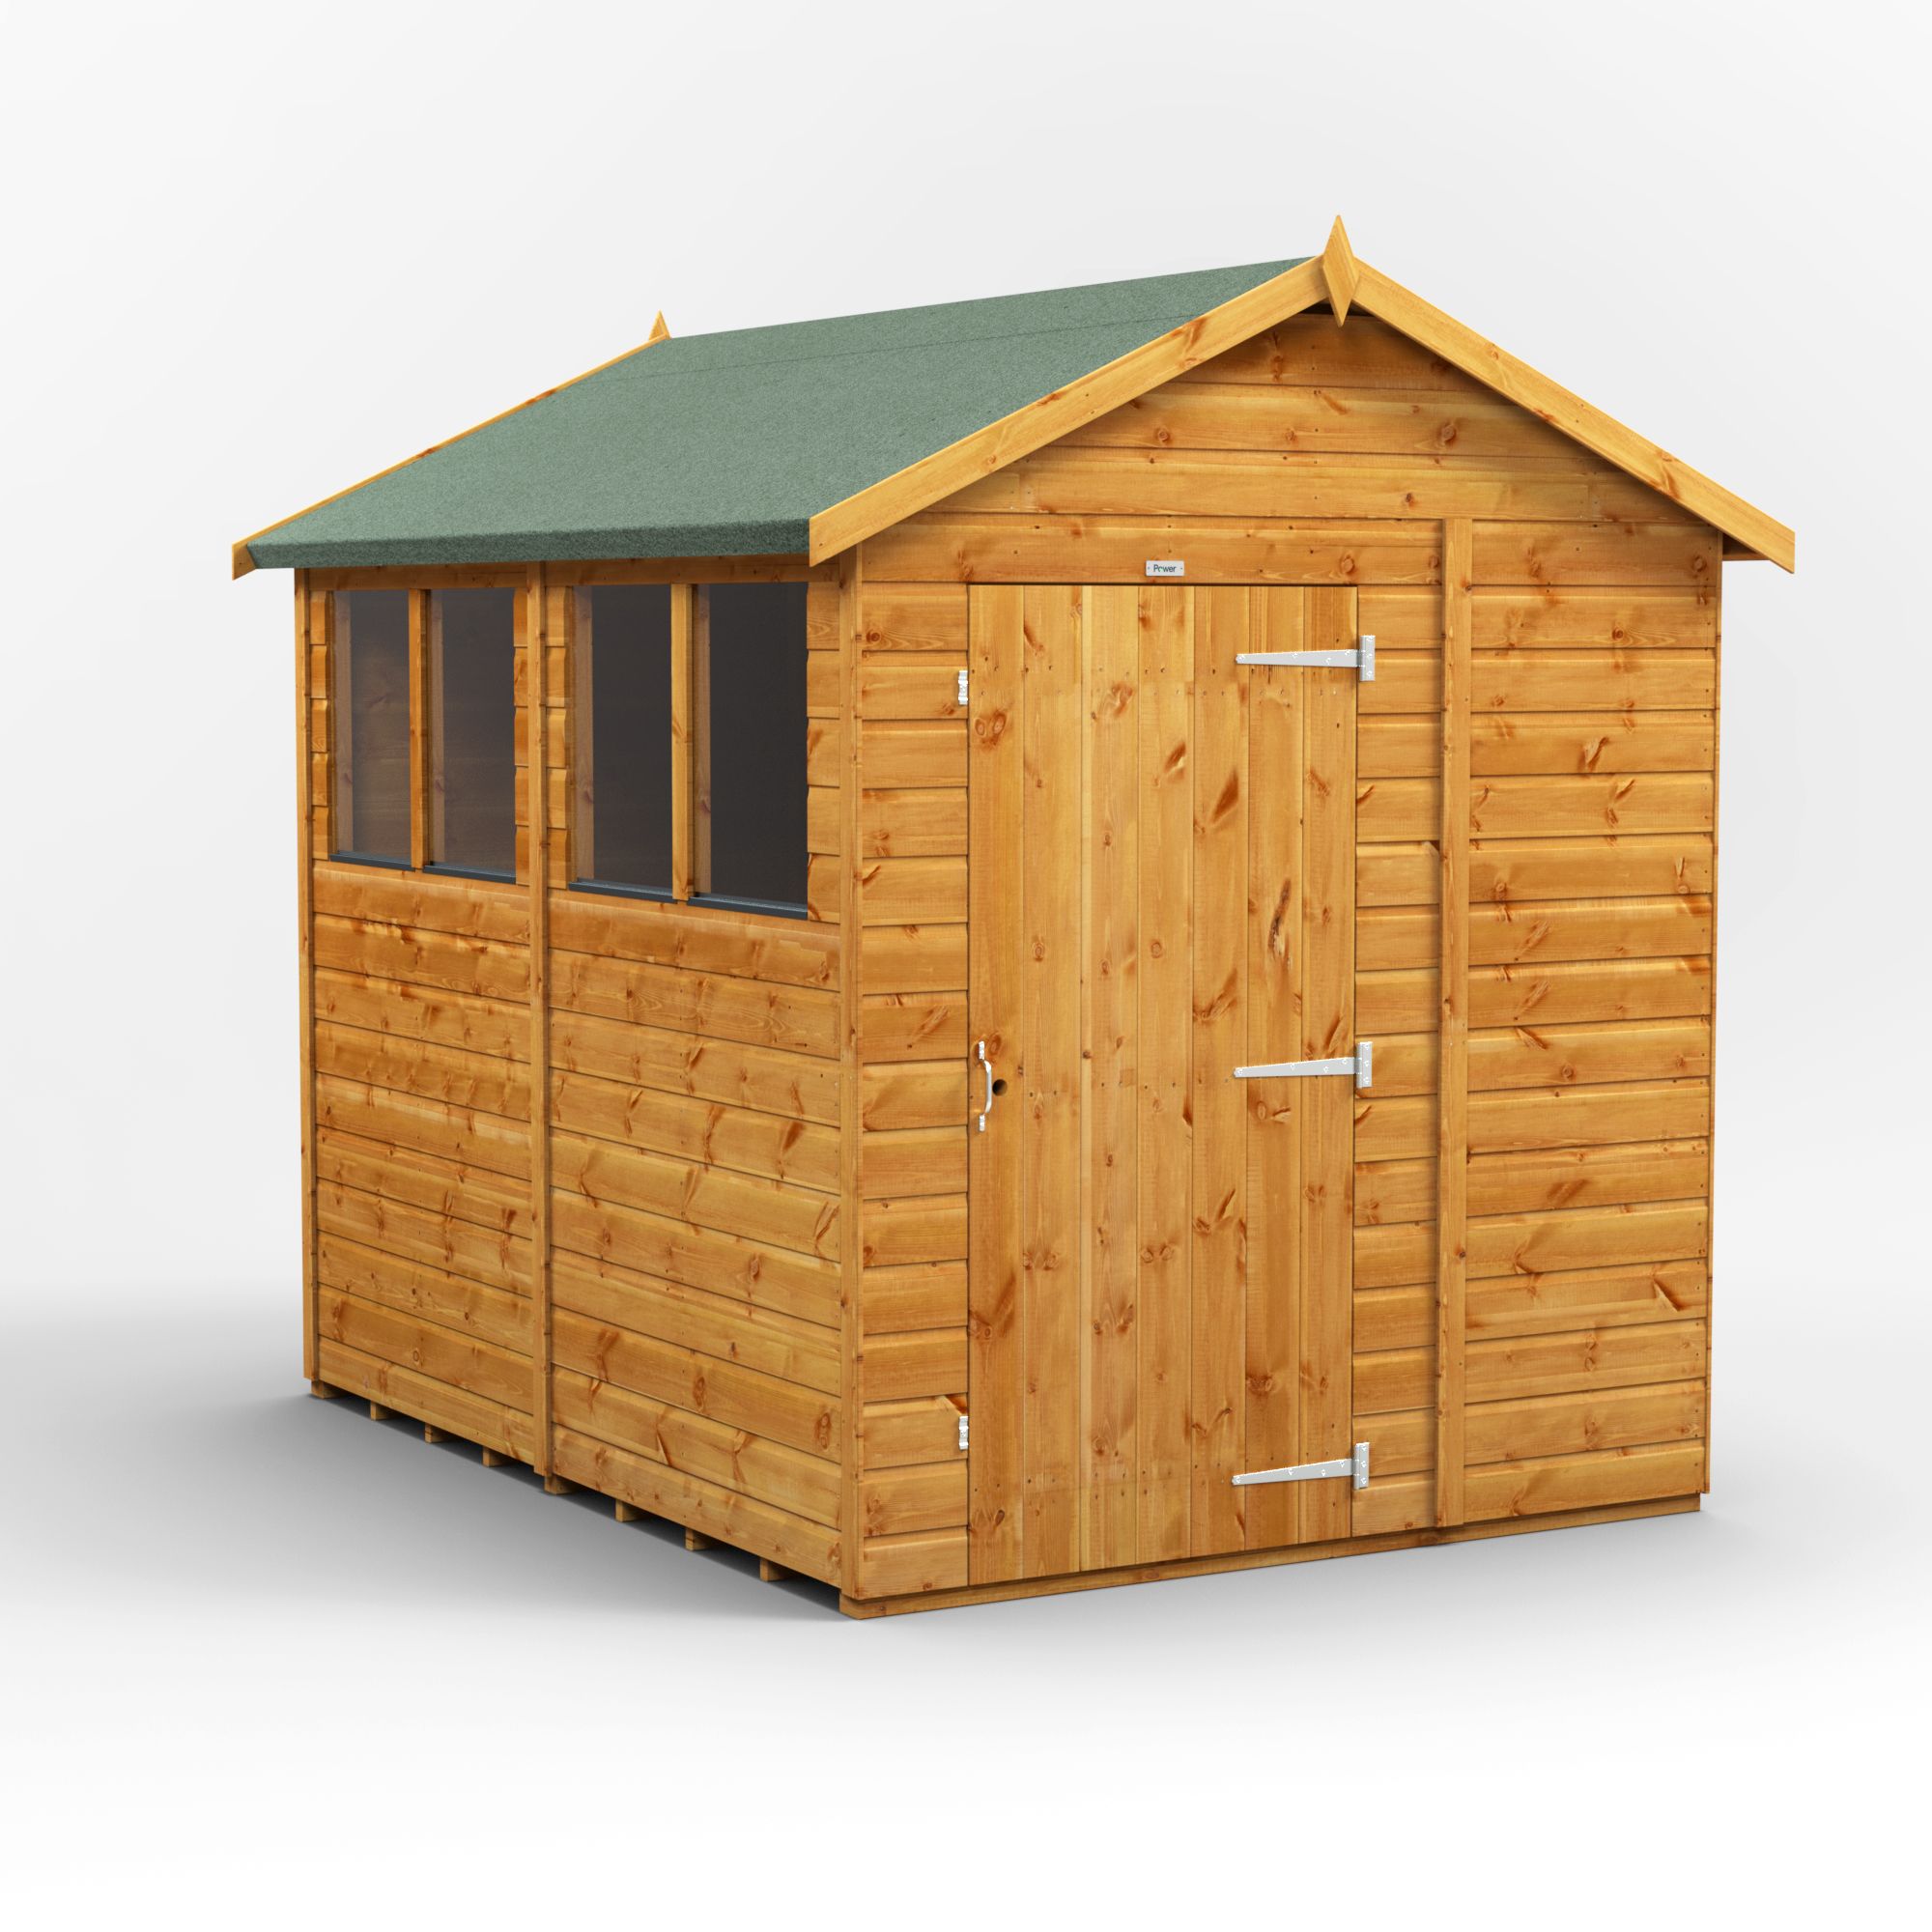
POWER SHIPLAP PENT Shed®
The Power Shiplap Pent Shed® is the UK’s most loved pent shed. This bestseller is a great quality, highly adaptable, modular garden shed, made here in the UK using high grade Scandinavian timber, with interlocking tongue & groove walls, floor and roof, and an expected lifespan of 25-Years!
The Power Shiplap Pent Shed comes with heavy duty framing, non-tear roofing felt, extra high wall height, and a 10-year guarantee as standard, however the most appealing feature of this pent shed is the vast range of door and window layouts available… allowing you to create your perfect shed.
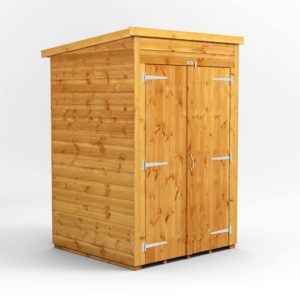
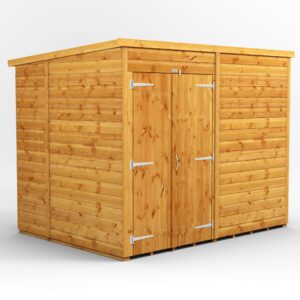
This fantastic shiplap pent shed is also available in dozens of sizes: from 4×4 up to 20×8, with a choice of single or double door. They can be supplied with or without windows… SO YOU HAVE THE POWER!
Features
- 25-YEAR LIFESPAN
- 10-YEAR GUARANTEE
- NO FUSS, FREE RETURNS
- COMES IN 28x SIZES
- UK’s MOST BELOVED BESTSELLING PENT SHED
- Highly adaptable modular configuration
- Plenty room inside with high eaves
- Easy to assemble c/w fastenings & simple instructions
- Pre-fitted toughened safety glass windows
- Windowless option available at no additional charge
- High quality, extra strong, Scandinavian Pine
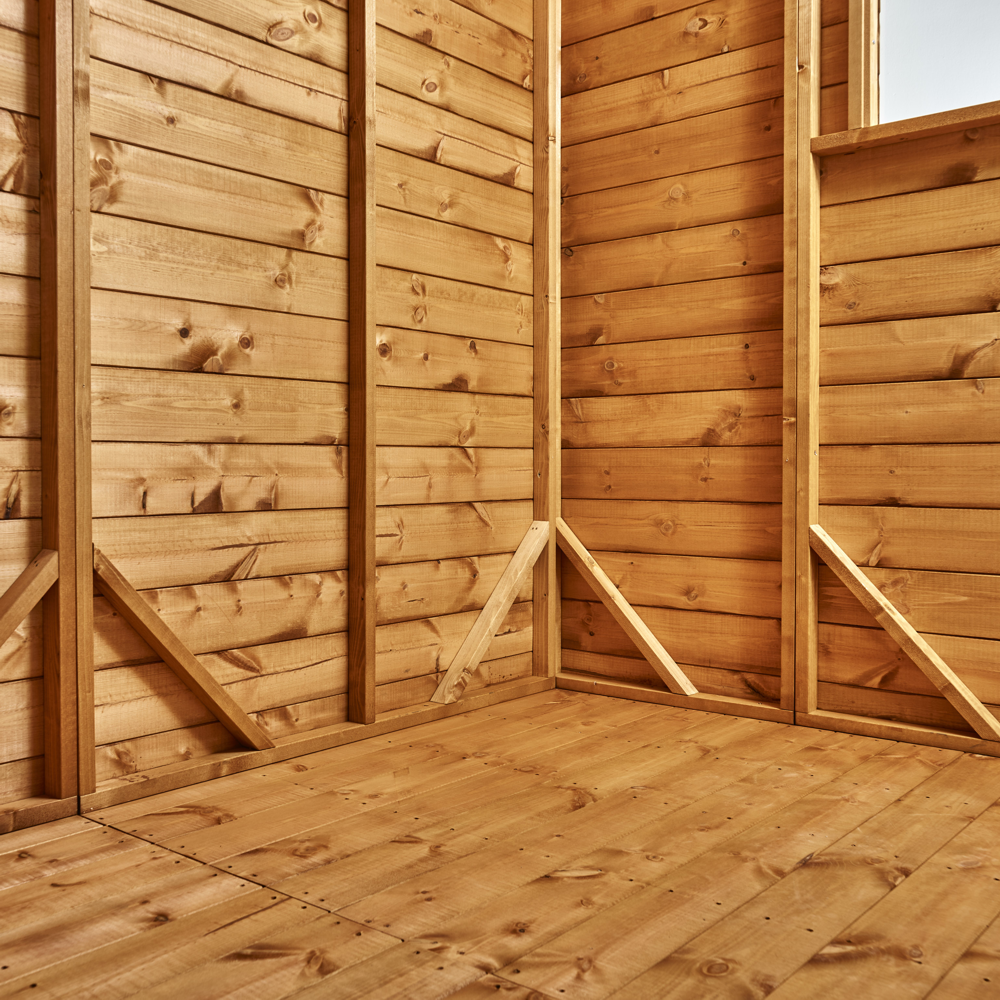
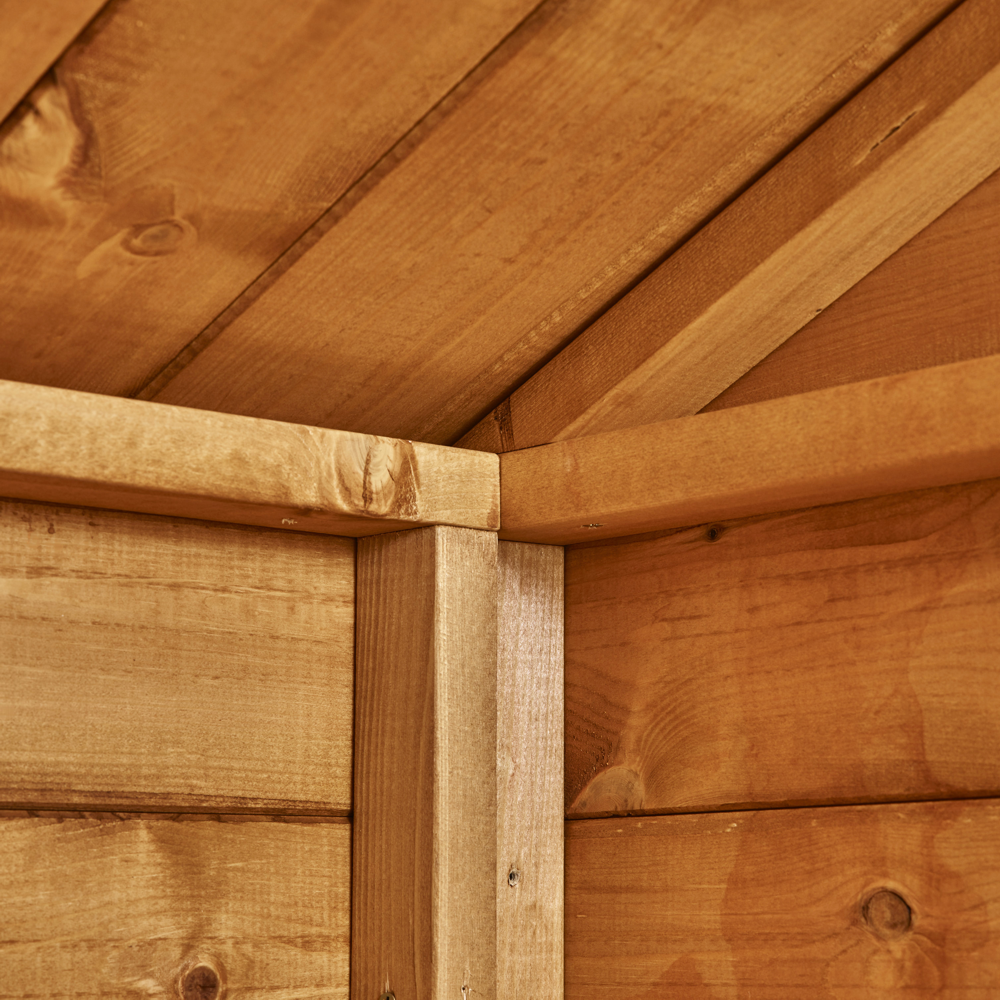
- Double size heavy duty framing on walls and at corners
- Diagonal framing on walls and door for extra strength and longevity
- 16mm nominal (12mm finish) tongue & groove roof, walls & floor
- Long-lasting Golden Oak preservative treatment (inside & out)
- 3x zinc galvanized T-hinges on each door
- Pre-fitted internal lock with key (no padlock required)
Quality Construction
All Power Shiplap Pent sheds are constructed using high quality, slow growing Scandinavian Pine with 16mm nominal (12mm finished) tongue and groove timber, on the roof, walls AND floor. Please note that NO chipboard, OSB or low-grade timber is used in the construction of this building.
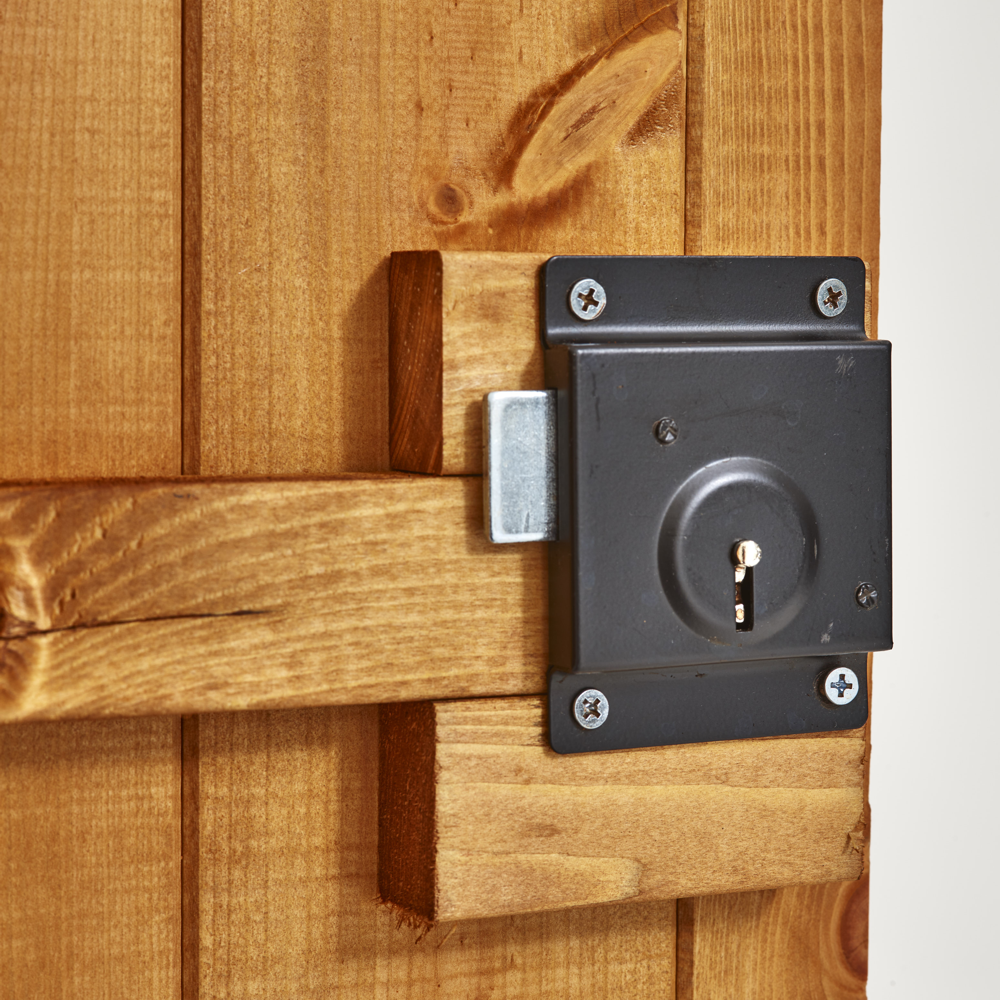
Power Shiplap Pent Sheds are supplied pre-treated with an Eco-friendly Golden Oak preservative basecoat (inside & outside) at no extra charge. Heavy, smoothed, rounded and planed framing (44x28mm) has been used internally, and is doubled throughout the shed and at the corners for extra strength. For security, a rim-lock c/w mortice key is fitted internally.
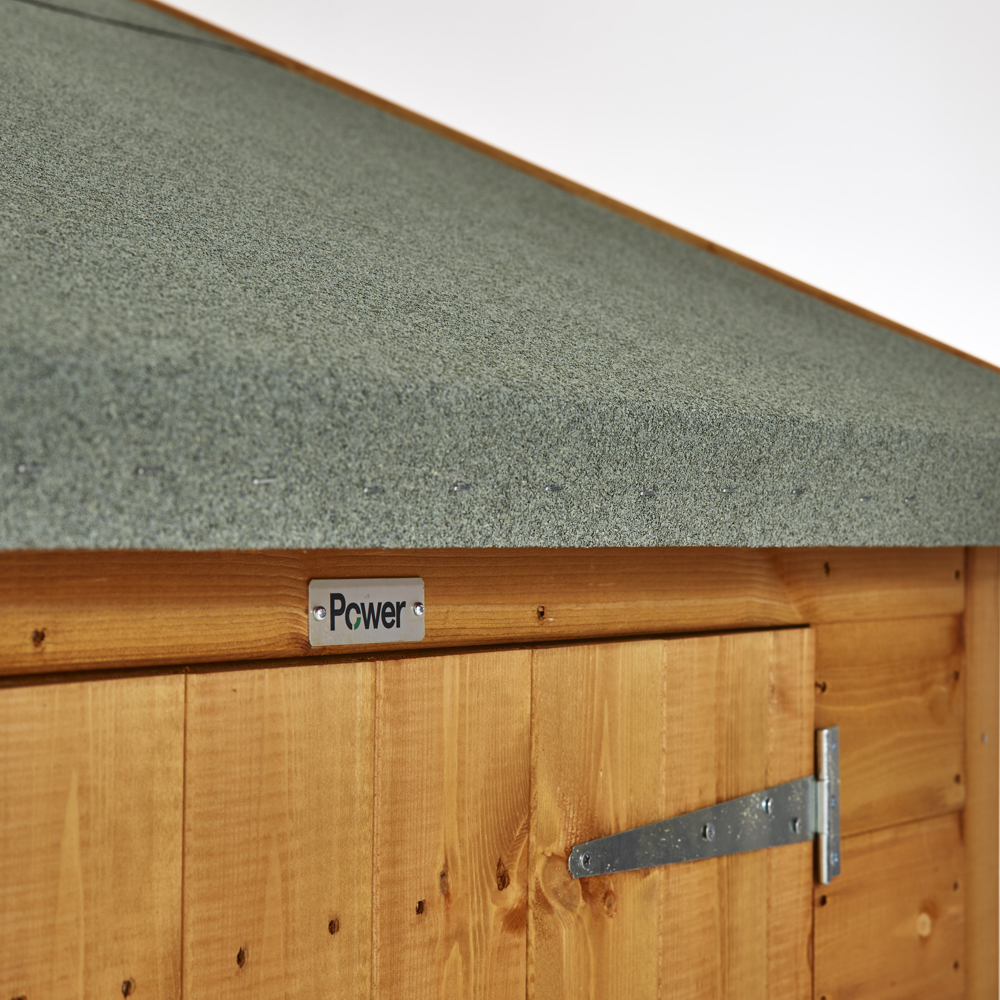
Non-tear polyester roofing felt is supplied to keep the shed roof watertight.
Modular Flexibility
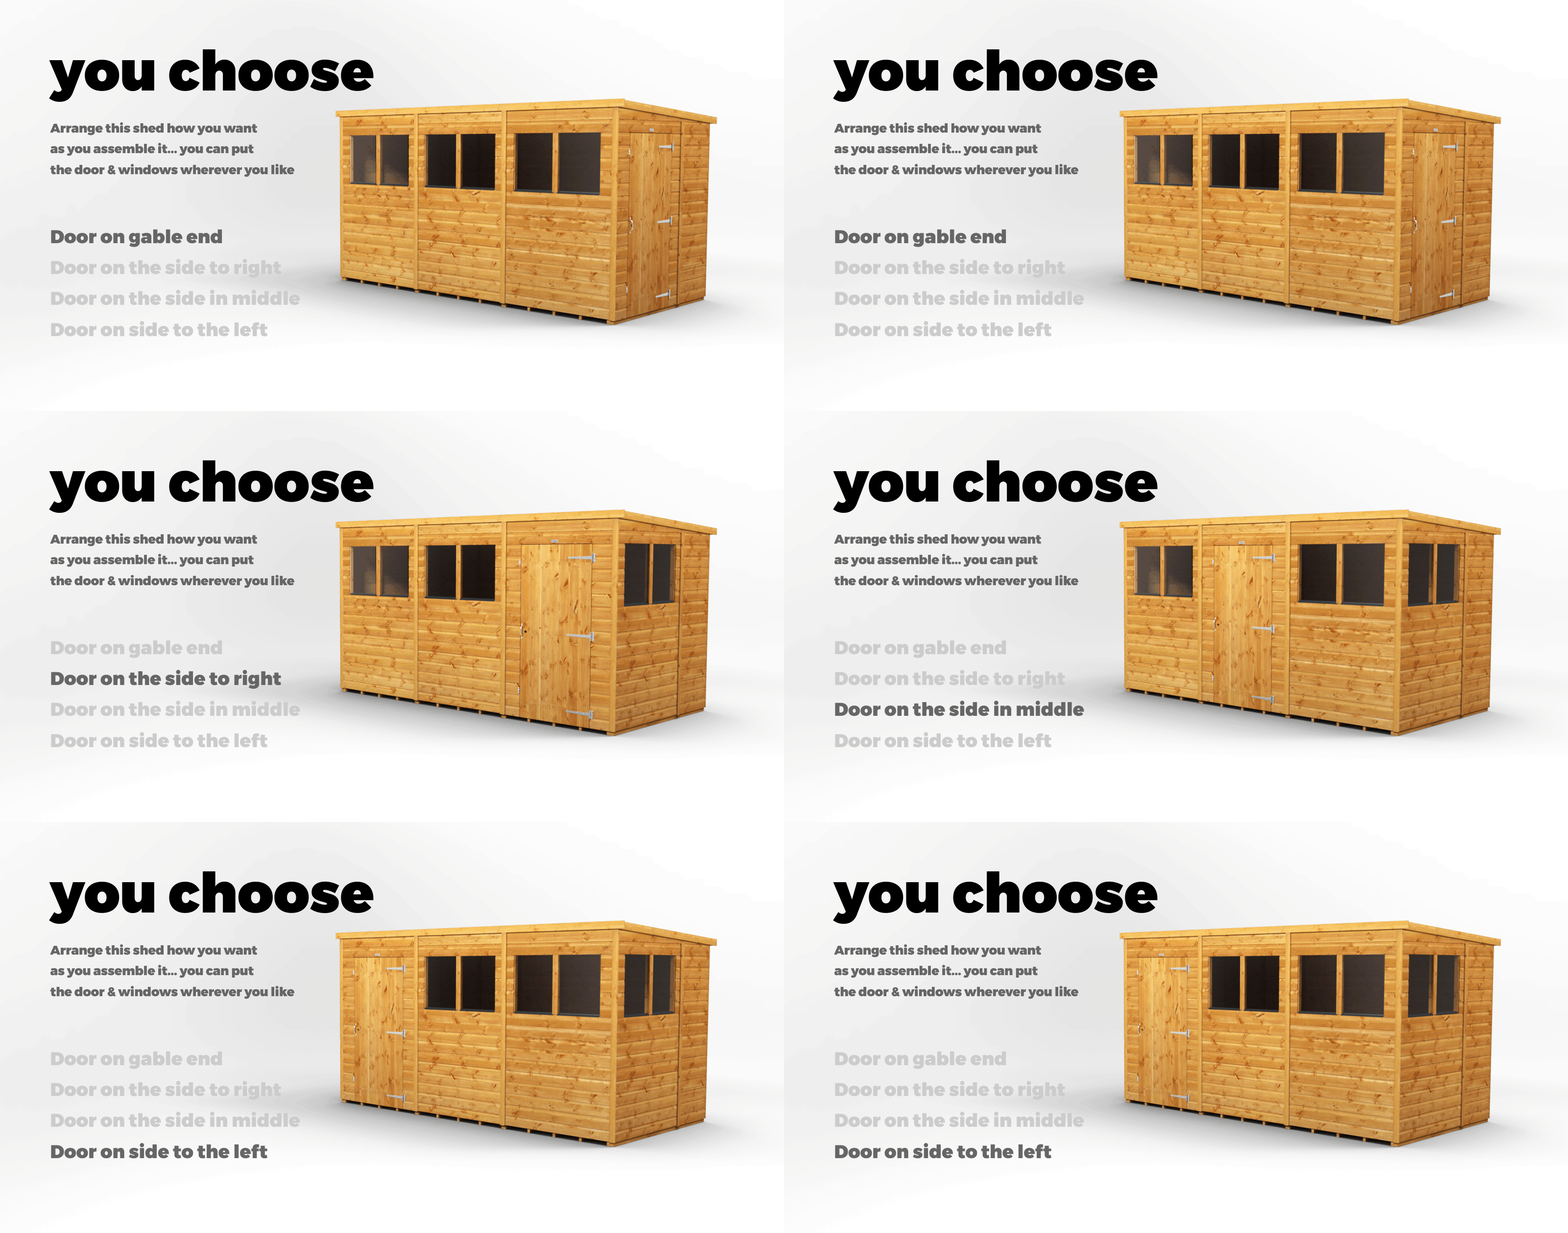
This design is known as a modular pent garden shed. Panels can be positioned anywhere you like, enabling you to design the perfect door/wall/window setup for you. Just choose whether you want to have it with windows or windowless, and with a single or double door, then you can interchange all panels.
All Power Shiplap Pent sheds are constructed using 12mm tongue and groove timber, on the roof, walls AND floor. Please note that NO chipboard, OSB or low-grade timber is used in the construction of this building.
Power Shiplap Pent Sheds are supplied pre-treated with an Eco-friendly Golden Oak preservative basecoat (inside & outside) at no extra charge. Heavy duty, smoothed and rounded framing (44x28mm) has been used internally, and is doubled throughout the shed and at the corners for extra strength.
For security, a rim-lock c/w mortice key is fitted internally. Non-tear polyester roofing felt is supplied to keep the roof watertight.
Preservative
This Power Shiplap Pent shed is supplied pre-treated with a quality, brown (golden oak), non-toxic preservative base coat. Each panel is treated inside and out (including end grain, tongues, grooves and cut-outs. This is a long-lasting preservative, allowing you to use the shed straight away.
There is no need to paint for the first year, but you can change the colour or over-paint at any time if you prefer, and we recommend painting the building as soon as possible.
Doors, Locking System & Windows
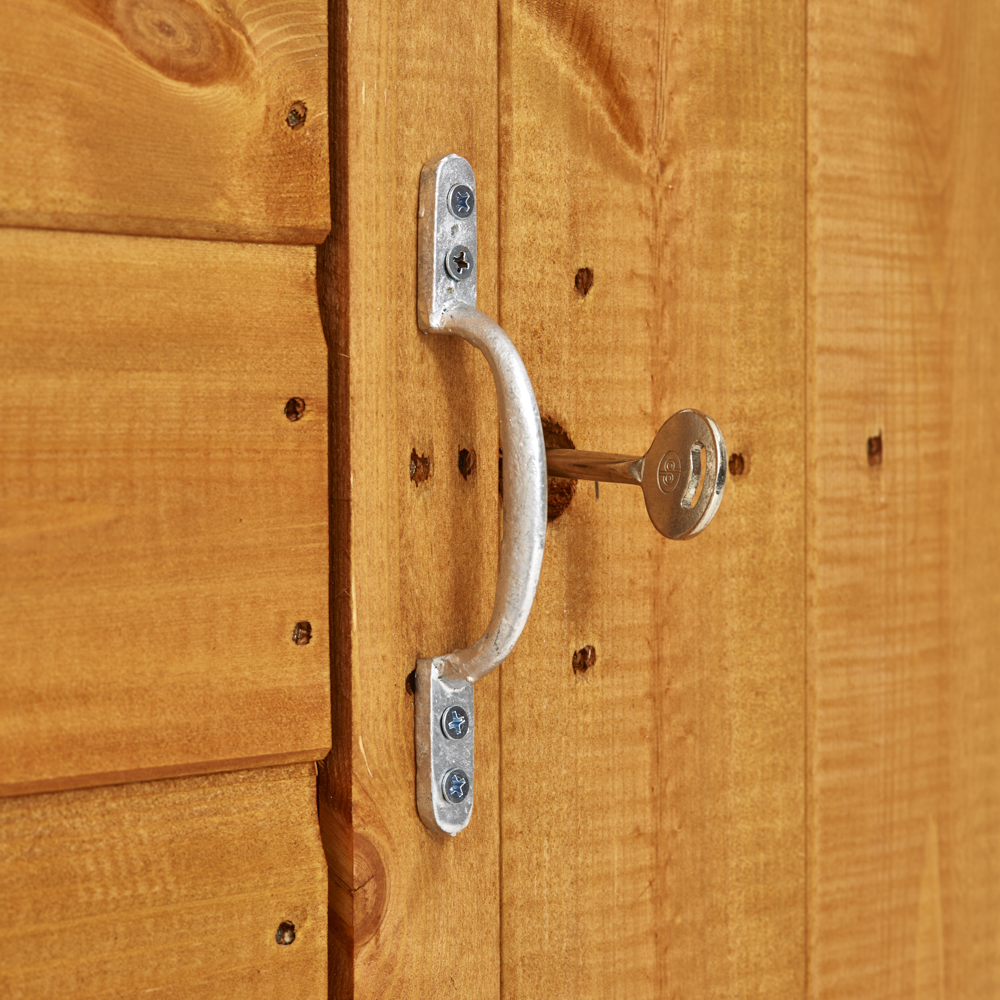
The doors on this Power pent shed are great… they are fitted with heavy framing complete with diagonal bracing stop sagging, they can be hinged on the left or right side, they are fitted internally with a rim-lock c/w mortice key for convenience, and have an easy grab handle.
Non-rusting, zinc galvanised t-hinges, and two turn-buttons are supplied as standard on either a 750mm (30″) wide single door, or a 1034mm (40″) wide double door.
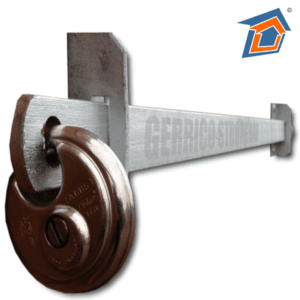
An optional heavy duty galvanised steel bar is also available to increase the sheds security even further (not available on the 7×5 model).
Windows are made from strong, secure toughened safety glass, and they are pre-fitted onto a non-rot window sill. Alternatively, this shed can be supplied ‘windowless’.
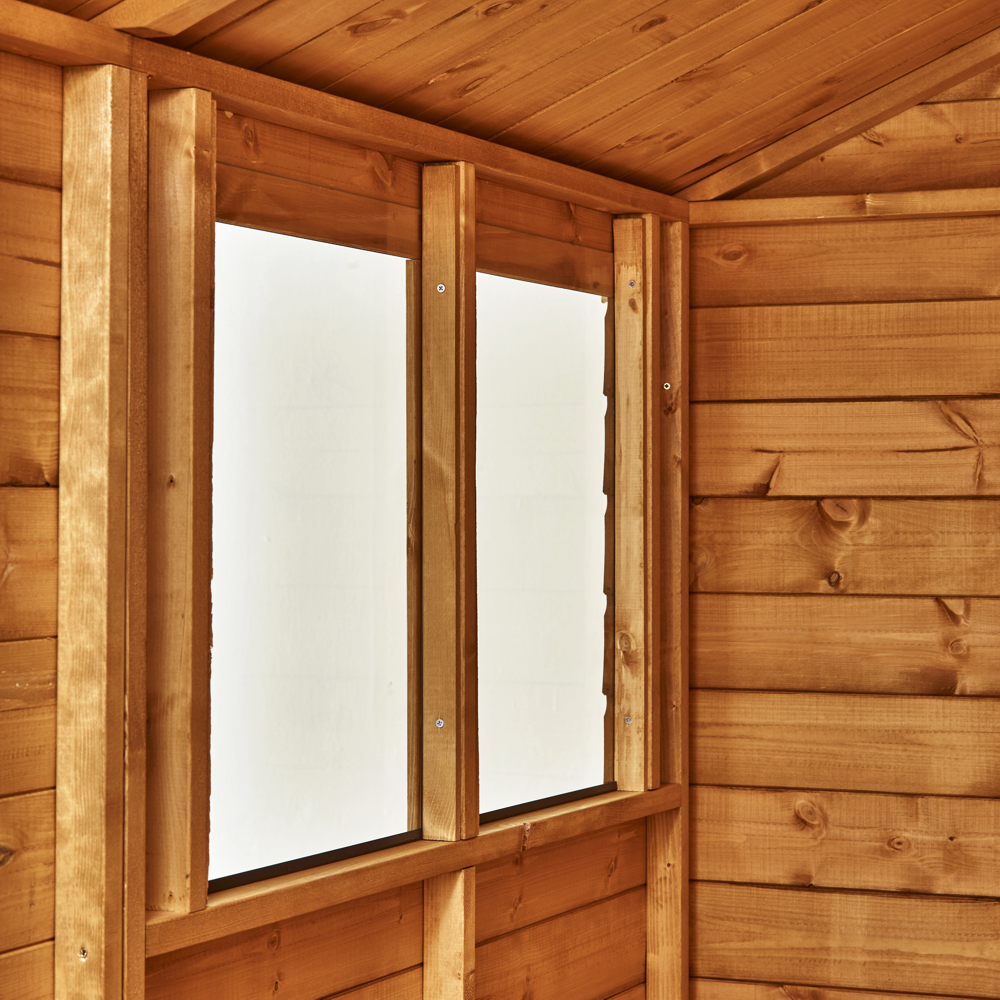
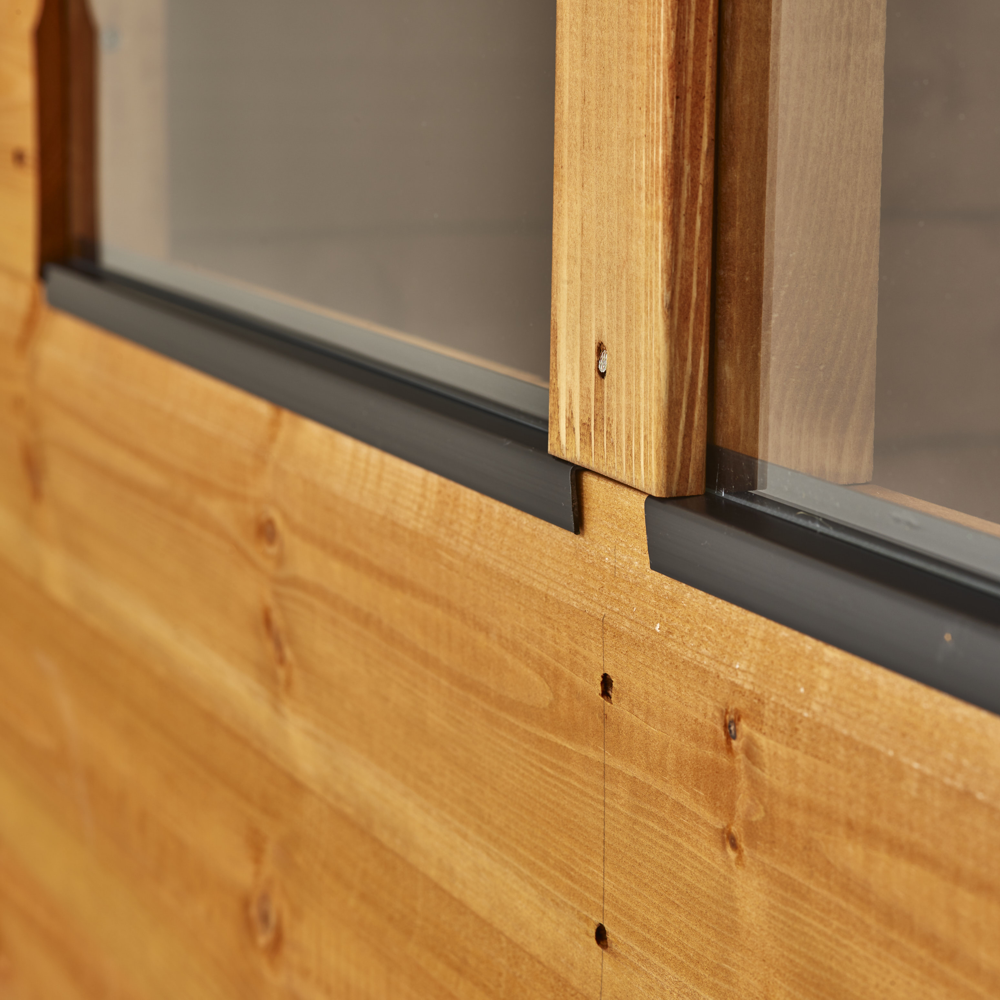
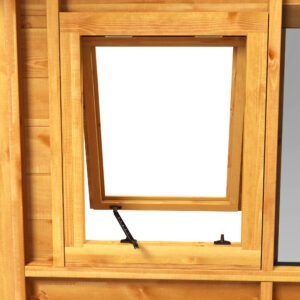
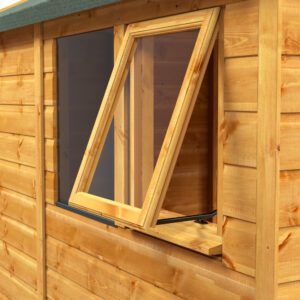
Optional Power Opening Window Kits® (below) are also available for this building. They are supplied individually as an easy to fit kit, and they replace any fixed glass pane on this building. These opening windows can be purchased separately at a later date, however they are discounted if purchasing at the same time as the building. More information can be found here.
Optional Extras
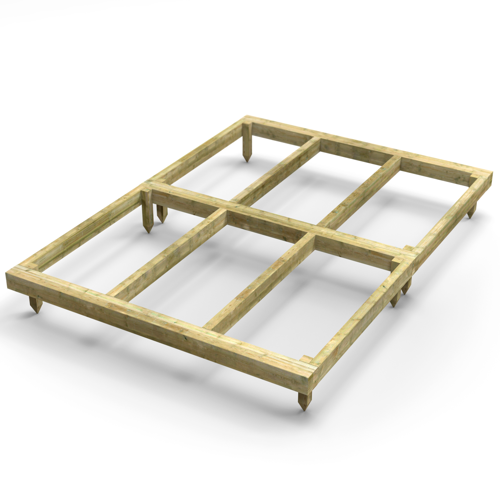
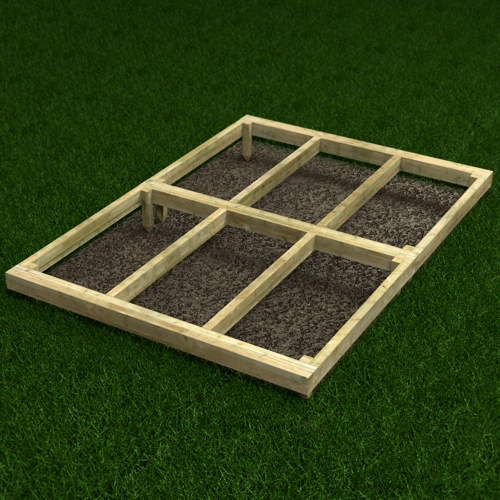
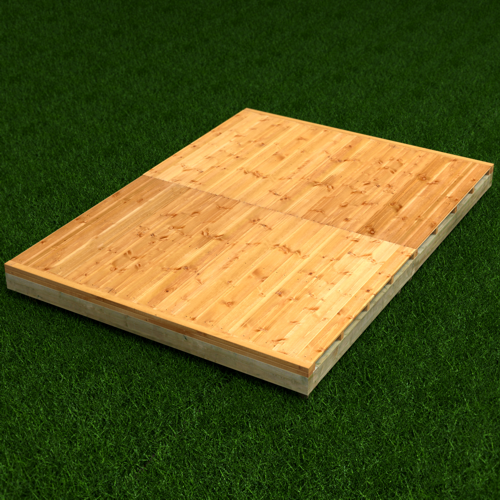
The Power Apex Shed is supplied ready to go onto an existing solid base made from concrete, slabs, or decking, however if you don’t have anything in place, you can purchase a Power® Base. It is pressure-treated, and is fitted below the shed to create a solid base for your shed to sit on, whilst allowing ventilation below your building.
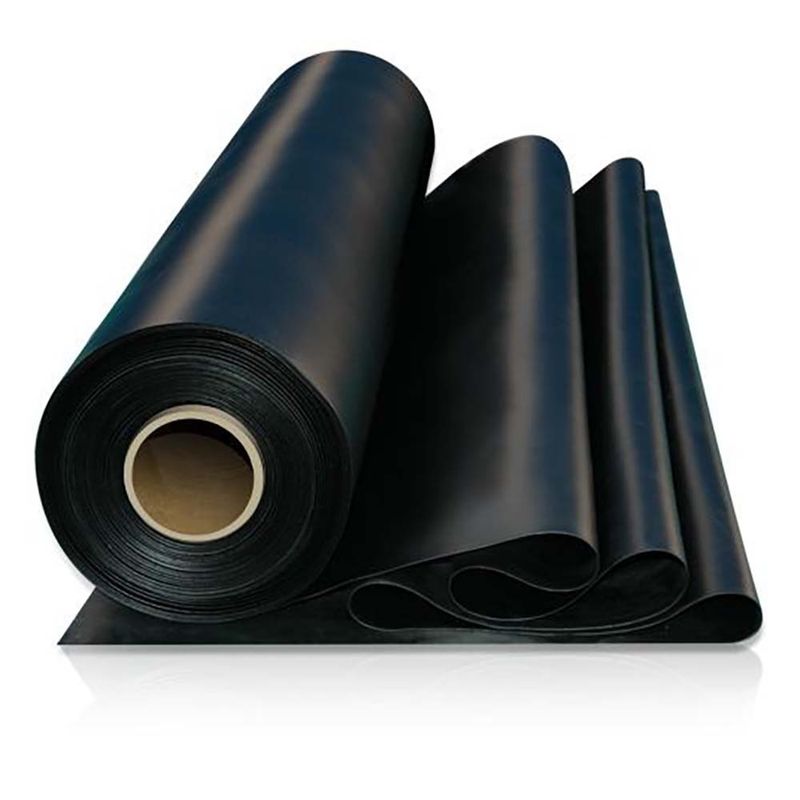
The Power Shiplap Apex Shed comes with polyester based non-tear roofing felt as standard, however this will require maintenance and replacement during the lifetime of your shed. Alternatively, we are able to offer a significant upgrade to a Firestone® EPDM RubberCover roof, which has an expected watertight lifespan exceeding 30-years!
The Firestone® roof upgrade comes as a kit, complete with spray adhesive (or adhesive with a roller) for easy application, and can be ordered with your shed.
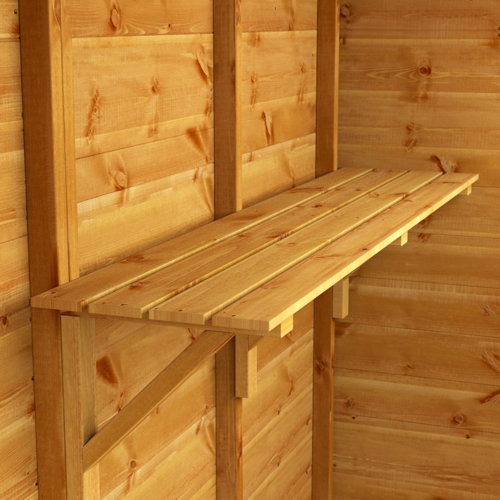
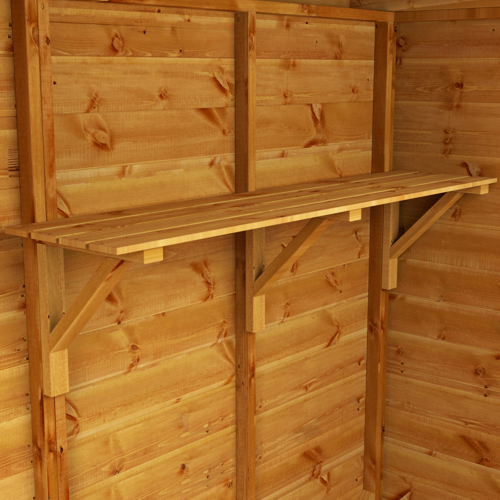
There are many accessories available for your Power Shiplap Apex Shed, including Spare Keys, Shelving, EPDM rubber roofing, Security Bars, Opening Windows, Racking, Paint and even Window boxes or Planters.
Specifications
Please contact us prior to purchase if you have any queries regarding the dimensions, or if you require exact sizes. Roof overhangs will extend beyond the Body Size shown below. Dimensions listed below are finished sizes.
| Power Shiplap Pent Shed® | Framing | Walls | Roof | Floor | Ext. Size (ex. overhangs) (mm) | Door Size (mm) | Windows | ||||||
| PENT | (mm) | (mm) | (mm) | (mm) | Length | Width | Eaves | Ridge | Height | Single Width | Double Width | Quantity | |
| 4×4 | 44PP | 44×28 | 12 | 12 | 12 | 1302 | 1214 | 1913 | 2028 | 1630 | 750 | 1034 | 2 |
| 6×4 | 64PP | 44×28 | 12 | 12 | 12 | 1902 | 1214 | 1913 | 2028 | 1630 | 750 | 1034 | 2 |
| 8×4 | 84PP | 44×28 | 12 | 12 | 12 | 2492 | 1214 | 1913 | 2028 | 1630 | 750 | 1034 | 4 |
| 10×4 | 104PP | 44×28 | 12 | 12 | 12 | 3092 | 1214 | 1913 | 2028 | 1630 | 750 | 1034 | 4 |
| 12×4 | 124PP | 44×28 | 12 | 12 | 12 | 3682 | 1214 | 1913 | 2028 | 1630 | 750 | 1034 | 6 |
| 14×4 | 144PP | 44×28 | 12 | 12 | 12 | 4282 | 1214 | 1913 | 2028 | 1630 | 750 | 1034 | 6 |
| 16×4 | 164PP | 44×28 | 12 | 12 | 12 | 4872 | 1214 | 1913 | 2028 | 1630 | 750 | 1034 | 8 |
| 18×4 | 184PP | 44×28 | 12 | 12 | 12 | 5472 | 1214 | 1913 | 2028 | 1630 | 750 | 1034 | 8 |
| 20×4 | 204PP | 44×28 | 12 | 12 | 12 | 6062 | 1214 | 1913 | 2028 | 1630 | 750 | 1034 | 10 |
| 7×5 | 75PP | 44×28 | 12 | 12 | 12 | 2192 | 1514 | 1913 | 2028 | 1630 | 750 | n/a | 2 |
| 4×6 | 46PP | 44×28 | 12 | 12 | 12 | 1302 | 1814 | 1913 | 2028 | 1630 | 750 | 1034 | 2 |
| 6×6 | 66PP | 44×28 | 12 | 12 | 12 | 1902 | 1814 | 1913 | 2028 | 1630 | 750 | 1034 | 2 |
| 8×6 | 86PP | 44×28 | 12 | 12 | 12 | 2492 | 1814 | 1913 | 2028 | 1630 | 750 | 1034 | 4 |
| 10×6 | 106PP | 44×28 | 12 | 12 | 12 | 3092 | 1814 | 1913 | 2028 | 1630 | 750 | 1034 | 4 |
| 12×6 | 126PP | 44×28 | 12 | 12 | 12 | 3682 | 1814 | 1913 | 2028 | 1630 | 750 | 1034 | 6 |
| 14×6 | 146PP | 44×28 | 12 | 12 | 12 | 4282 | 1814 | 1913 | 2028 | 1630 | 750 | 1034 | 6 |
| 16×6 | 166PP | 44×28 | 12 | 12 | 12 | 4872 | 1814 | 1913 | 2028 | 1630 | 750 | 1034 | 8 |
| 18×6 | 186PP | 44×28 | 12 | 12 | 12 | 5472 | 1814 | 1913 | 2028 | 1630 | 750 | 1034 | 8 |
| 20×6 | 206PP | 44×28 | 12 | 12 | 12 | 6062 | 1814 | 1913 | 2028 | 1630 | 750 | 1034 | 10 |
| 4×8 | 48PP | 44×28 | 12 | 12 | 12 | 1302 | 2404 | 1913 | 2028 | 1630 | 750 | 1034 | 2 |
| 6×8 | 68PP | 44×28 | 12 | 12 | 12 | 1902 | 2404 | 1913 | 2028 | 1630 | 750 | 1034 | 2 |
| 8×8 | 88PP | 44×28 | 12 | 12 | 12 | 2492 | 2404 | 1913 | 2028 | 1630 | 750 | 1034 | 4 |
| 10×8 | 108PP | 44×28 | 12 | 12 | 12 | 3092 | 2404 | 1913 | 2028 | 1630 | 750 | 1034 | 4 |
| 12×8 | 128PP | 44×28 | 12 | 12 | 12 | 3682 | 2404 | 1913 | 2028 | 1630 | 750 | 1034 | 6 |
| 14×8 | 148PP | 44×28 | 12 | 12 | 12 | 4282 | 2404 | 1913 | 2028 | 1630 | 750 | 1034 | 6 |
| 16×8 | 168PP | 44×28 | 12 | 12 | 12 | 4872 | 2404 | 1913 | 2028 | 1630 | 750 | 1034 | 8 |
| 18×8 | 188PP | 44×28 | 12 | 12 | 12 | 5472 | 2404 | 1913 | 2028 | 1630 | 750 | 1034 | 8 |
| 20×8 | 208PP | 44×28 | 12 | 12 | 12 | 6062 | 2404 | 1913 | 2028 | 1630 | 750 | 1034 | 10 |
This high quality Powersheds Shiplap Pent shed has an expected 25-Year Lifespan, and it comes with a manufacturers 10-Year Warranty. We recommend that you assemble the building on a solid, free-draining base, with at least 60cm free space all around for maintenance and to avoid splash back.
You should treat all exposed sections with a high quality preservative every year in accordance with the manufacturers instructions. Please ensure that regular general maintenance is carried out on all moving parts.
Roof covering should be regularly inspected (especially before and after storms), and replaced as and when required.
All products are delivered sectional/flat-packed to kerbside unless stated otherwise. Information shown above has been supplied by the manufacturer, and is as accurate as possible (errors and omissions excepted), however they are intended only as a guide.
*The free delivery service covers mainland Scotland, England & Wales, however delivery to Northern Ireland, the Republic of Ireland, offshore islands, and remote rural areas will be subject to an additional charge.
Additional information
| Door | Double Door, Single Door |
|---|---|
| Windows | Toughened Glass, Windowless |
| Roof Type | Pent Roof |
| Power® Size | 4×4, 4×6, 4×8, 6×4, 6×6, 6×8, 7×5, 8×4, 8×6, 8×8, 10×4, 10×6, 10×8, 12×4, 12×6, 12×8, 14×4, 14×6, 14×8, 16×4, 16×6, 16×8, 18×4, 18×6, 18×8, 20×4, 20×6, 20×8 |
| Roofing Felt | Non-Tear Superfelt |
| Treatment | Advanced Preservative |
Assembly Videos
You will receive written instructions with your Power building. However, please also take a look at our installation videos to see how you can install a Power Shed.
Power Sheds Base Kit Video
Power Pent Garden Shed Assembly Video
Power Apex Garden Shed Assembly Video
Power Pent Bike Shed Assembly Video
So, your new Power Shed has arrived, and the chances are you’re probably excited to get it constructed and taking pride of place in your garden as soon as possible. All of our garden sheds come with detailed instructions to help you build your shed and ensure it’s a safe and solid structure. However, we’ve put together a few tips and some advice to help you along the way.
How to Install a Power Garden Shed
Installing your Power Shed should be an easy process – that’s what makes our sheds so special. Following the steps below will help you ensure your shed is put up safely and securely, leaving you to enjoy your new garden building to its full potential.
Preparing to Build a Shed from Power Sheds
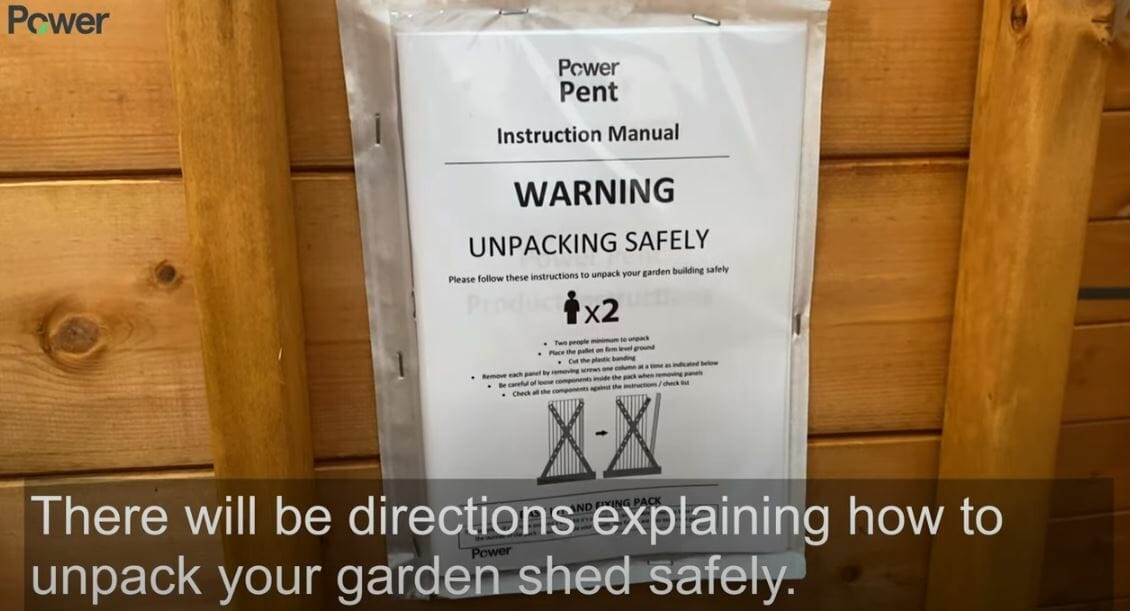
Unpacking your garden shed safely is important. Once your pallet arrives, you might be keen to get stuck in as quickly as possible but taking care and using the following steps will help you avoid damage to your shed and, more importantly, injury to yourself or those working with you.
- A minimum of two people should unpack your shed
- Ensure that you place the pallet on firm level ground
- Cut the plastic banding
- Remove each panel by removing screws one column at a time as indicated in the instructions
- Check all the components against the instructions/check list
How to Make a Shed Base
All of our garden sheds require a firm and level base. When thinking about where the garden building and base is going to be constructed you should:
- Ensure that there will be access to all sides for maintenance work and annual treatment.
- Remember not to place the base too close to any walls or fences, as there may be a slight overhang on the roof of the garden building which may come into contact with the wall or fence.
- Ensure the base is level and is built on firm ground, to prevent distortion. Refer to PowerSheds.com for base dimensions.
- Consider when placing the base next to trees or large bushes as this could cause problems from overhanging branches, especially if these are likely to grow and come into contact with the building in the future and could cause the felt to rip.
We do offer a Power Sheds Base kit as an optional extra.
The base is slightly smaller than the external measurement of the building, i.e. the cladding should overhang the base, creating a run for water. It is recommended that the floor is at least 25mm above the surrounding ground level to avoid flooding.
If you have not chosen to purchase our Power Base then other suitable bases would include a concrete base (75mm of concrete on top of 75mm of hardcore) or a paving slab base (slabs laid on top of 50mm of sharp sand).
Preparing the Shed for Assembly
Within the delivery of your new shed you’ll find a fixing pack; this contains the screws and nails that are required for the actual construction of the shed. Your fixing pack will include:
- 25mm screws (silver)
- 35mm screws
- 50mm screws
- 70mm screws
- Clout nails (for the felt)
- 40mm galvanised nails
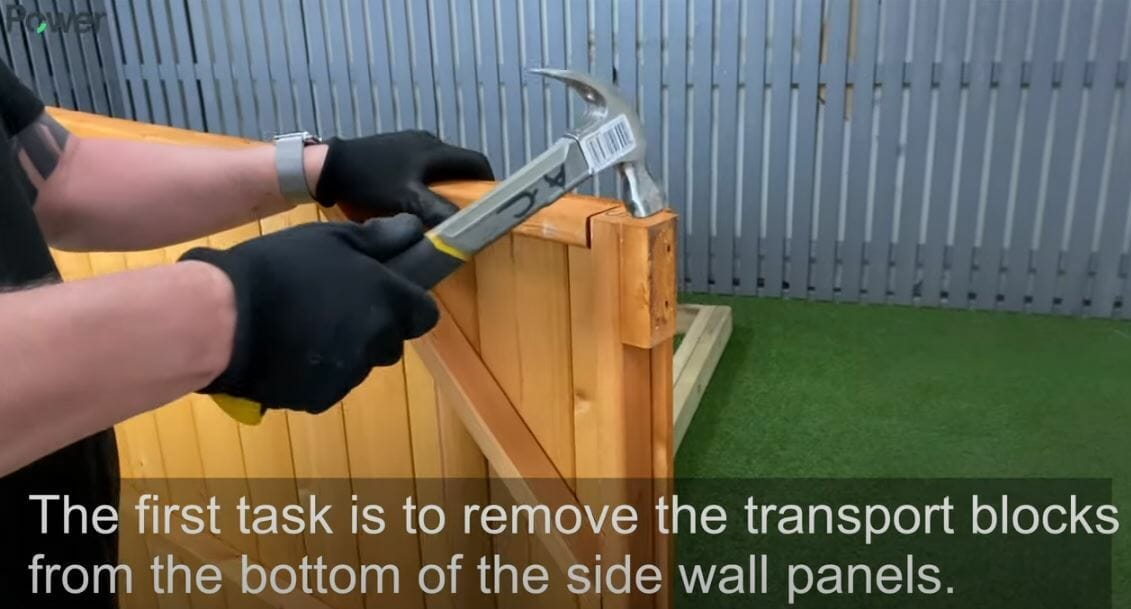
Before beginning assembly, remove any transport blocks from the bottom of the blank and window panels. These are there to offer further protection to the bottom board of the panel.
Pre-drilling is also important at this stage. In the instructions we’ll talk about screwing panels together. We recommend this is done with a drill. Here, we suggest that you pre-drill the timber with a 3mm drill bit before inserting the screws. This will minimise the chance the timber will split.
Shed Floor Assembly
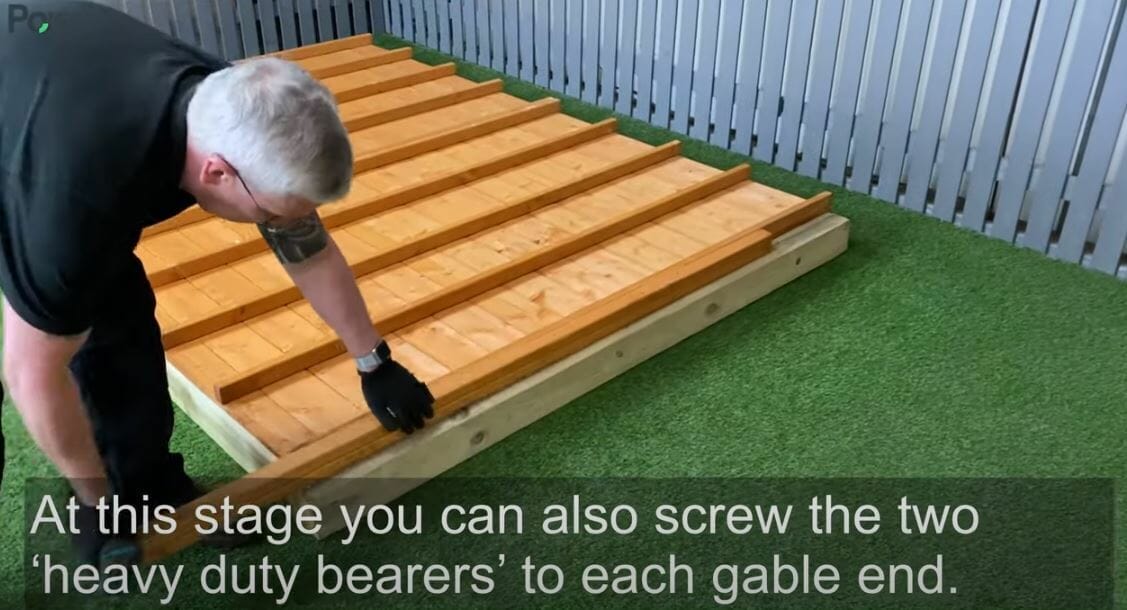
Lay down your floor panel(s) onto your firm and level base into the desired position of your shed. Be sure to consider any overhangs on the shed when deciding the correct position.
Join the floor panels together using the 50mm screws provided, using around three screws per join. At this stage you can also screw the two ‘heavy-duty bearers’ which are two pieces of framing joined together, to each gable end (the end where the triangular ‘gable tops’ will go later’). Join the bearers by screwing through the floor joists first so the screw goes as far into the bearer as possible.
Assembling Your Shed Door: How to Make a Shed Door
Your shed will either come with a single door or a double door depending on what you selected when ordering. Double doors are already hung on the door panel. However, for a single door you will need to hang the door.
For a single door you can choose which way round to hang it – left hand or right hand. (note – if you choose a left hand hinged door then the lock has to be unscrewed and positioned the correct way round as it will be upside down)
For a single door, lay the door panel on the floor (you can lie it on the shed floor if you wish). Line up the door onto the framing so that it is square. The door should be positioned closer to the side where the hinges go. Make sure the lock is on the inside of the shed when the door is closed. Secure the hinges in place using the 25mm screws provided.
Choose two places on the door to secure your two turn buttons – one towards the top, one towards the bottom. For double doors a turn button will already be secured. Be careful not to screw this too tightly or it will not turn.
Shed Wall Panel Assembly
Please ensure you have removed the transport blocks before progressing any further.
Your shed will come with a number of wall sections. The quantity of these will be dependant on which type and size you ordered – there could be 4ft Blank Panels, 2ft Blank Panels, 4ft Window Panels (unless you have selected the windowless version), and a door panel (which could be a single door or double door). Please see the components table in your instructions to confirm which panels you should have for your Power shed.
Lay out the wall panels in the configuration you want for your garden building. The blank panels, door panel and window panels can go in any position.
Start with the 4ft panel that will be part of your gable end – position this on top of one of the heavy-duty bearers which you attached in the previous section. Ensure the side of the panel is flush with the side of the floor.
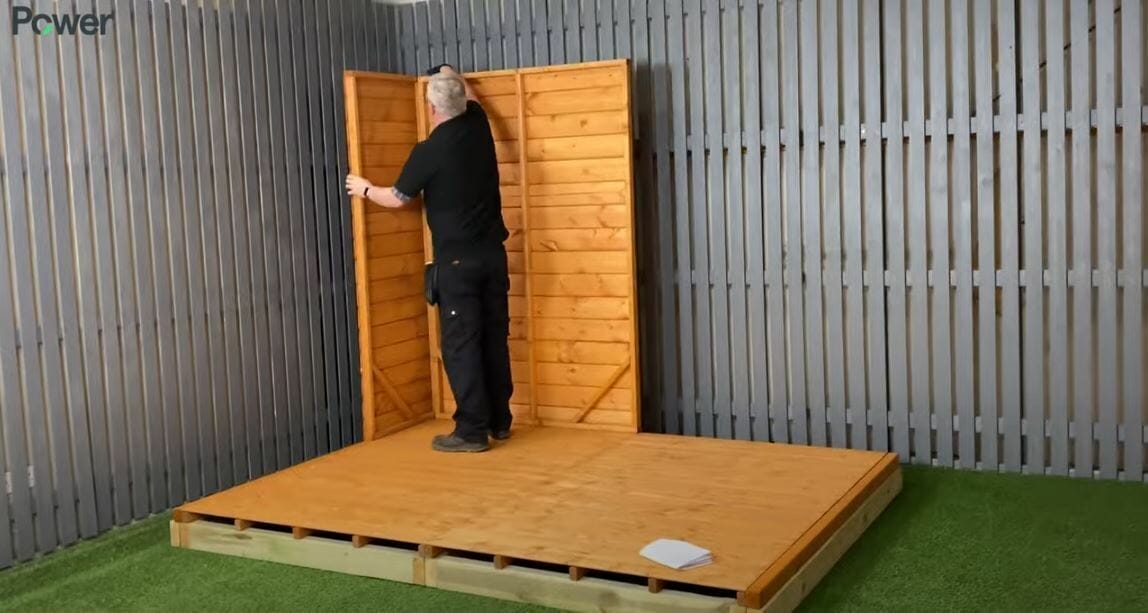
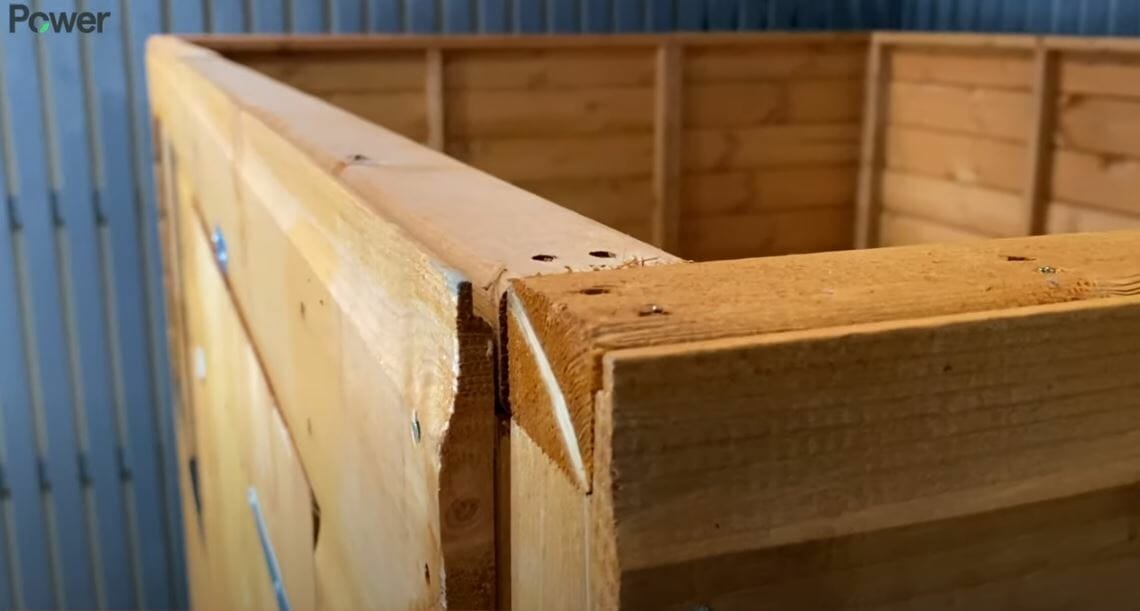
Place another wall panel again secure using the 50mm screws provided. Important! – When securing panels together ensure they line up at the top (so the building is square) and that only the ends of the cladding are shown, which will later be covered with corner strips. This is only in the corner where the side meets the gable. You can choose the position of the doors and windows as you build the shed.
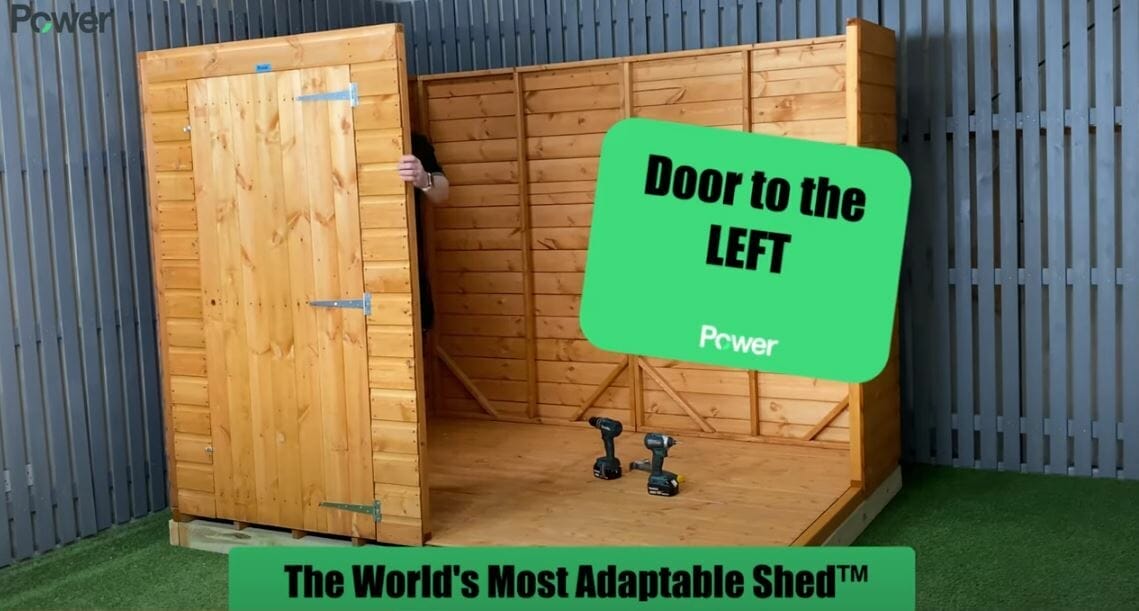
Continue doing this to place all remaining wall panels in position.
When you have secured all the wall panels you then need to secure these to the floor using 70mm screws provided. Screw into the floor with 2x screws for every wall panel (internally) ensuring the screws are driven through the framing at the bottom of the side/gable walls, through the floorboards and into the floor joists. Ensure all panels line up at the top.
Assembling an Apex Shed Roof
If you have ordered an apex shed, follow these steps to get the roof installed.
Gable Tops
Line up the gable tops with the panels at the gable ends (the ends where you attached the ‘heavy-duty bearers’).
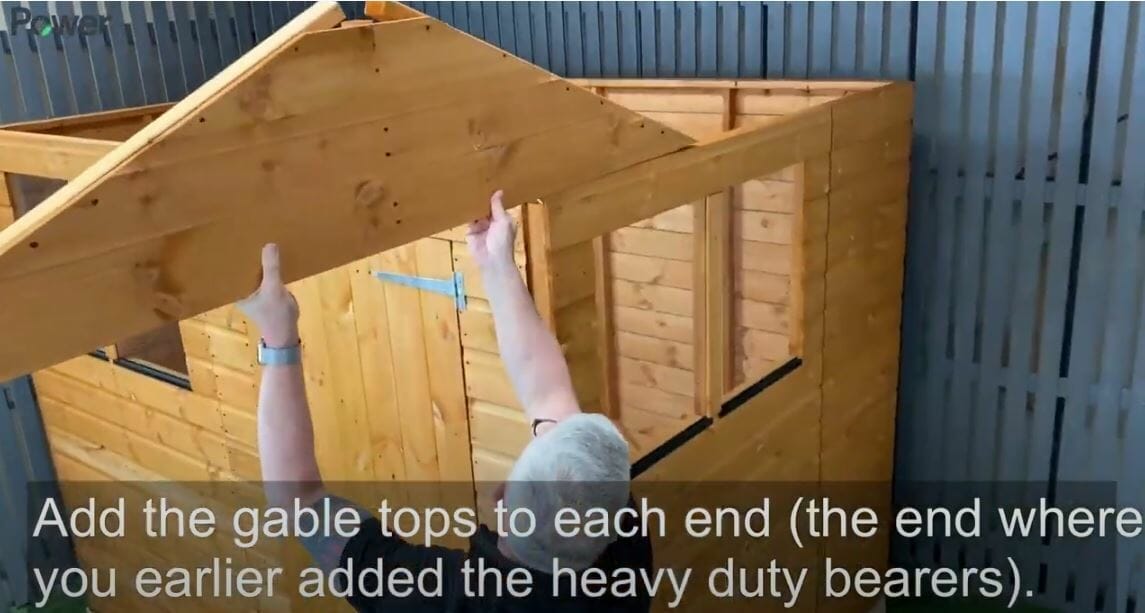
Secure them to the wall panels with 50mm screws from the inside, screwing upwards through the framing.
Trusses
The trusses should be attached to the side wall panels with 40mm galvanised nails. The trusses will line up with the joins in the side wall panels. Ensure the end of the truss goes to the outer edge of the framing on the side walls and not the cladding (so the roof will sit right). Nail down through the truss and into the top of the side walls. Please note: You will not receive a truss for a 4×4, 4×6 or 4×8 shed.
Apex roof panels
Depending on the size of the building you have ordered, your roof panels will be 600mm, 1190mm or 1302mm long (note – the roof panels are not handed, it does not matter which way round they go, and the tongue and groove do not need to interlock).
For 8ft wide sheds you may get other roof sizes with specific instructions for an 8ft wide roof. Therefore, these roof instructions will not apply to 8ft wide sheds.
In general, the 1302mm roof panels will go at each end of the roof with the other roof panels central. This will ensure the joins in the roof panels line up with the joins in the wall and the roof trusses and the slightly longer 1302mm roof panels will mean there is an overhang at each end (except on the 4×4 and 4×6 Power Apex where there is no roof overhang). The only time the roof panels won’t line up with the truss and join inside walls is if you have positioned a 2ft side wall panel at one end – in this occurrence, the truss will line up with the join in the side walls panels but the join in the roof panels will be slightly offset to the truss.
There are batons to help join the roof panels together. Start by joining the batons to the roof panels with 50mm screws as per the diagram below, and then place the roof panels in position (the roof panels are universal so can go on either side).
Start at one end placing a roof panel at each side and screw the roof panels together (internally) using 70mm screws.
You can then work down the roof adding and joining roof panels to the baton on the adjoining roof panels with 50mm screws and joining the roof panels to each other with 70mm screws until all the roof panels are on. There should be 6x screws joining the roof panels together every 4ft.
Ensure the roof panel overhang at each end of the shed is even – there should be an approx. 56mm overhang at each end. (note – there will be no roof overhang at the gable end on the 4×4 or 4×6 Power Apex). Then, screw the roof panels to the side wall panels with 50mm screws (ensuring you screw down into every upright piece of framing on the side walls) and screw the roof panels into the gables at each end with 35mm screws (4x screws for each gable)
The roof now needs attaching to the trusses (if there are trusses). To do this, screw down through the roof panels and into the truss from the outside with 35mm screws ensuring there are 8 screws per truss (4x on each side).
Installing the apex roof shed felt
Roll out the mineral roofing felt along the lower part of one side of the roof. Allow for sufficient overhang to fold down onto the roof framing (but not the underside of the roof).
Use clout nails to tack along the top edge of the felt and into the roof boards. Repeat this process on the other side of the roof.
If you have ordered a Power Shed which is 6ft wide (4×6, 6×6, 8×6, 10×6, 12×6, 14×6, 16×6, 18×6, 20×6) then you will receive an additional piece of felt to then go on the ridge of the roof. This can be secured to the roof using clout nails. If you have an 8ft wide shed, you will receive another length of felt as well.
Fold the overhanging felt at the gable ends under the roof boards and tack into place. Note – The 4×4, 4×6 and 4×8 Power Apex roof panels will finish flush with the gables and so the felt will not tuck under.
Assembling a Pent Shed Roof
If you have ordered a pent shed, follow these steps to complete the construction of your shed roof.
Front pent top and gables
Add the pent front top to the side you want to be higher and screw to the panels below with 50mm screws.
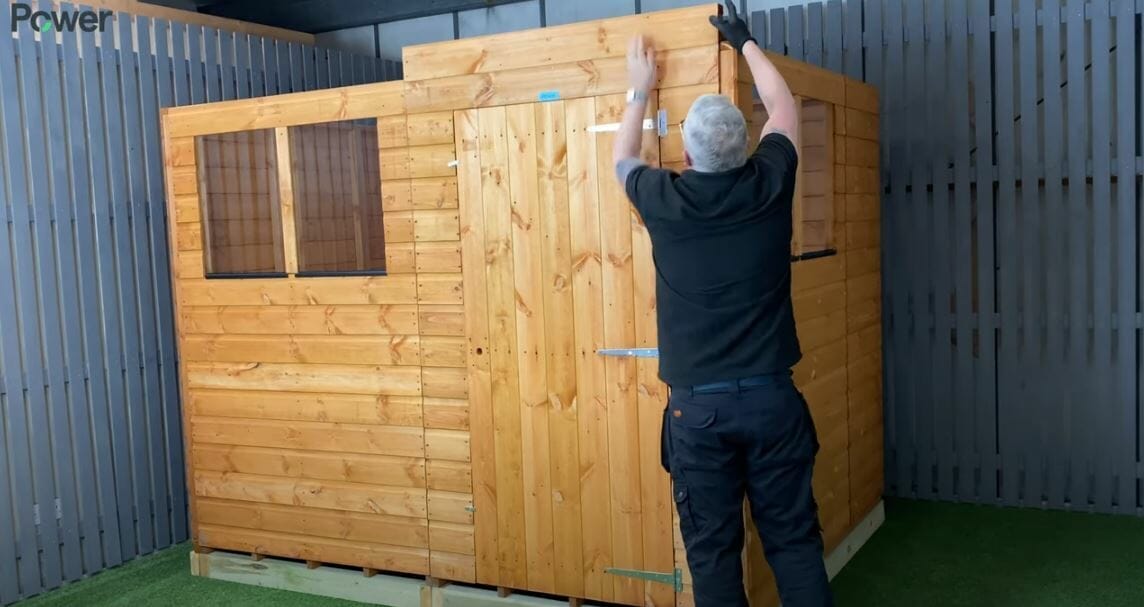
Line up the gable tops with the panels at the gable ends (the ends where you attached the ‘heavy-duty bearers’) and secure them to the wall panels with 50mm screws from the inside, screwing upwards through the framing.
Pent roof panels
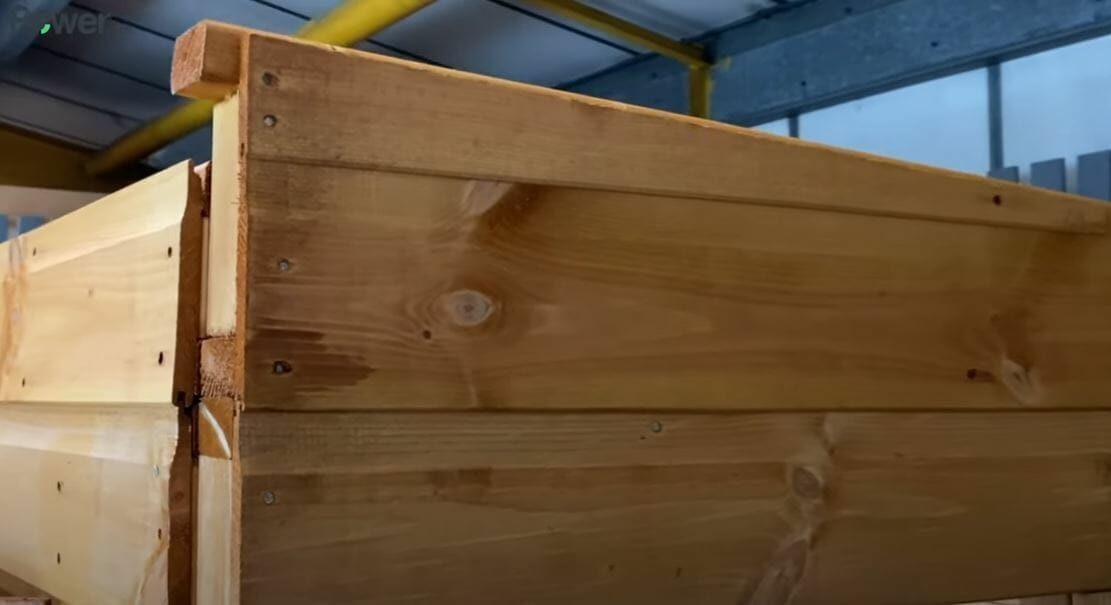
Depending on the size building you have ordered, your roof panels will be 2ft, 3ft, or 4ft wide. Place the roof panels in place so that the framing on the roof panel runs parallel with the gables i.e. from the front high side to the back low side.
Make sure the framing on the roof is in line with the framing on the gable top so that the overhang on the front and back is correct.
Join the roof panels to each other and to the gables using 50mm screws, going through the framing from the inside of the building.
Then, screw the roof panels to the side wall panels with 50mm screws (ensuring you screw up through the framing from the inside of the building into the framing on the roof panels).
Installing the pent roof shed felt
Before laying the felt, you will need to attach the back bargeboards with the 40mm galvanised nails. As you can see there are two for the back – one at the edge of the roof and one on the underside. These soffits may come in more than one section and may need cutting down to size with a saw depending on which size shed you have chosen. Be sure not to mix these up with the corner strips and cover lats which are to go vertically around the shed in corners and covering joins (explained later).
Roll out the mineral roofing felt along the lower part of one side of the roof. Allow for sufficient overhang to fold down onto the roof bargeboard (but not the underside roof bargeboard).
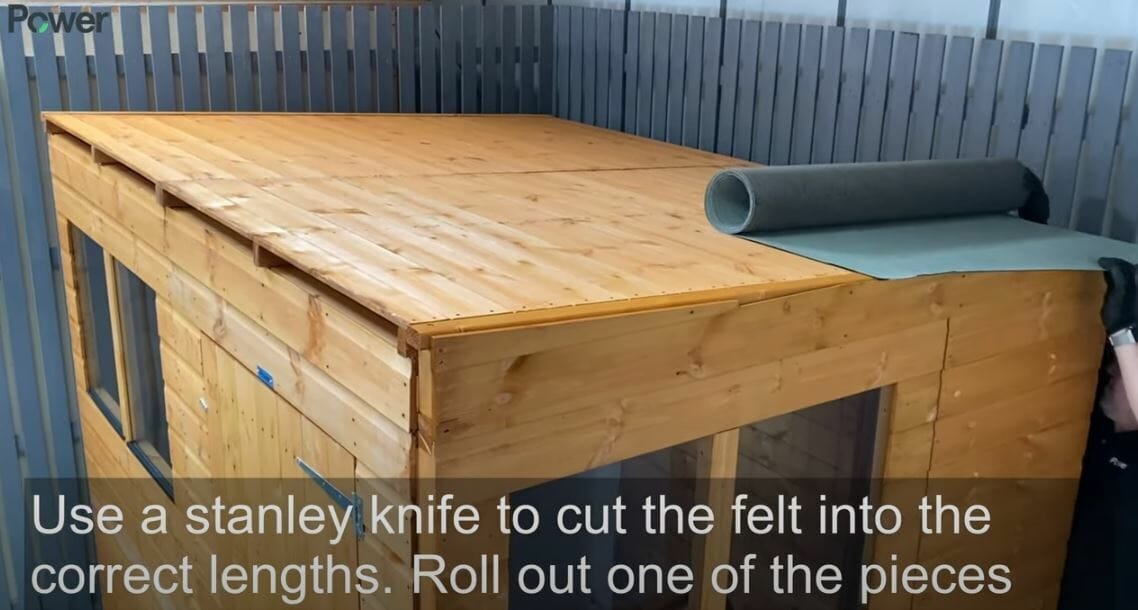
Use clout nails to tack along the top edge of the felt and into the roof board and the bottom edge of the felt into the back bargeboard.
Repeat this process along the higher part of the roof.
Fold down the overhanging felt on the gable ends and tack this into place. Front and side bargeboards will cover any untidy edges.
Applying the Finishing Touches
Using the 40mm galvanised nails, fit the bargeboards to the foot and sides of the roof. Again, these may need cutting down with a saw depending on what size building you have.
Secure corner strips at each corner of your Power Shed with 40mm nails (at least four per strip). Extra strips are provided to cover any joins between side wall panels.
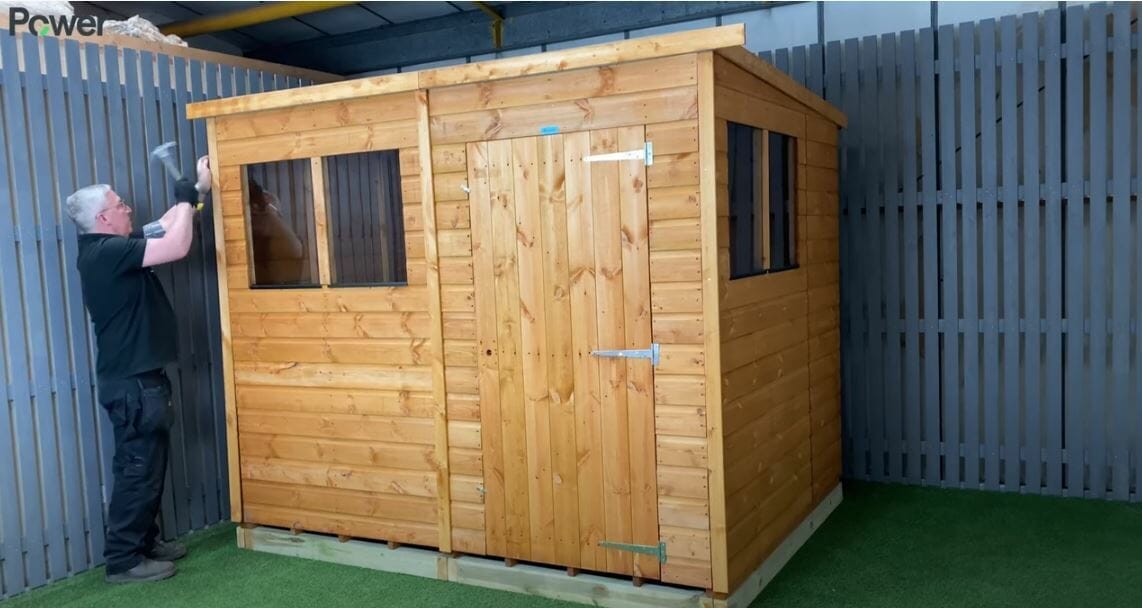
Secure the door pull to the door with 25mm screws.
Peel the protective blue sticker off the Power branding plate above the door.
Powersheds® Pallet Delivery
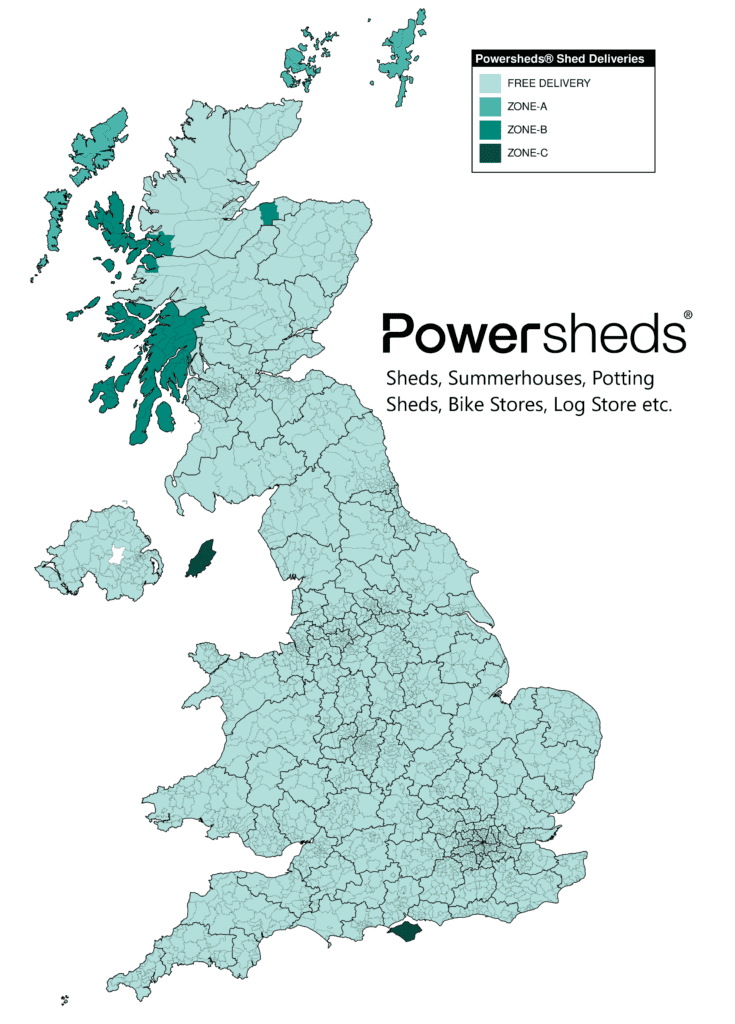
Powersheds® sheds, summerhouses, bike stores etc. are shipped on a pallet to kerbside unless stated otherwise. Please note that log cabins, gazebos, pergolas, decking and other HIAB deliveries are not included below.
- FREE DELIVERY: Most Areas (mainland only)
- ZONE-A: HS, KW15-17, ZE (Sheds up to 12’x6′ +£129 up to 12per pallet*)
- ZONE-B: IV34-51, IV55-56, KA27-28, PA20-80, PH41-44 (+£109 per pallet*)
- ZONE-C: IM, PO30-41 (+£55 per pallet*)
The free delivery service covers most of mainland Scotland, England, Wales, and Northern Ireland. Offshore islands including the Hebrides, Orkneys, Shetlands, Isle of Wight etc. (and some extremely remote rural areas) are available at an additional charge. *Surcharges shown above are based upon single pallet rates for sheds and summerhouses measuring up to 12’x6′. Larger buildings measuring 14’x4′ up to 20’x10′ will require an additional pallet.
There is no delivery service to the Channel Islands or the Republic of Ireland at this time.
Next-day, Saturday, and timed deliveries may also be available… please give us call for a quote.
Delivery information shown here has been provided by the Powersheds®, and is as accurate as possible (errors and omissions excepted), however it is intended only as a guide.
Related products
Related products
-
Sale!
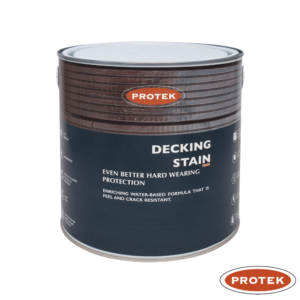
PROTEK Decking Stain
£35.64Original price was: £35.64.£29.99Current price is: £29.99. Select options This product has multiple variants. The options may be chosen on the product page -
Sale!
A1 ShedBAR Shed Door Security Bar
£49.99 – £149.99 Select options This product has multiple variants. The options may be chosen on the product page -
Sale!
PROTEK Royal Exterior Wood Finish
£18.99 – £72.99 Select options This product has multiple variants. The options may be chosen on the product page -
Sale!
PROTEK Wood Stain and Protect
£11.99 – £34.99 Select options This product has multiple variants. The options may be chosen on the product page -
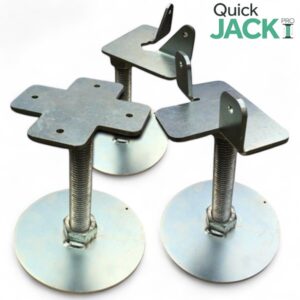
QuickJACK PRO Adjustable Shed Base (for soil or grass)
£105.99 – £599.99 Select options This product has multiple variants. The options may be chosen on the product page

